The Ultimate Guide to Screen Share in Zoom: Share Your Screen Safely and Easily
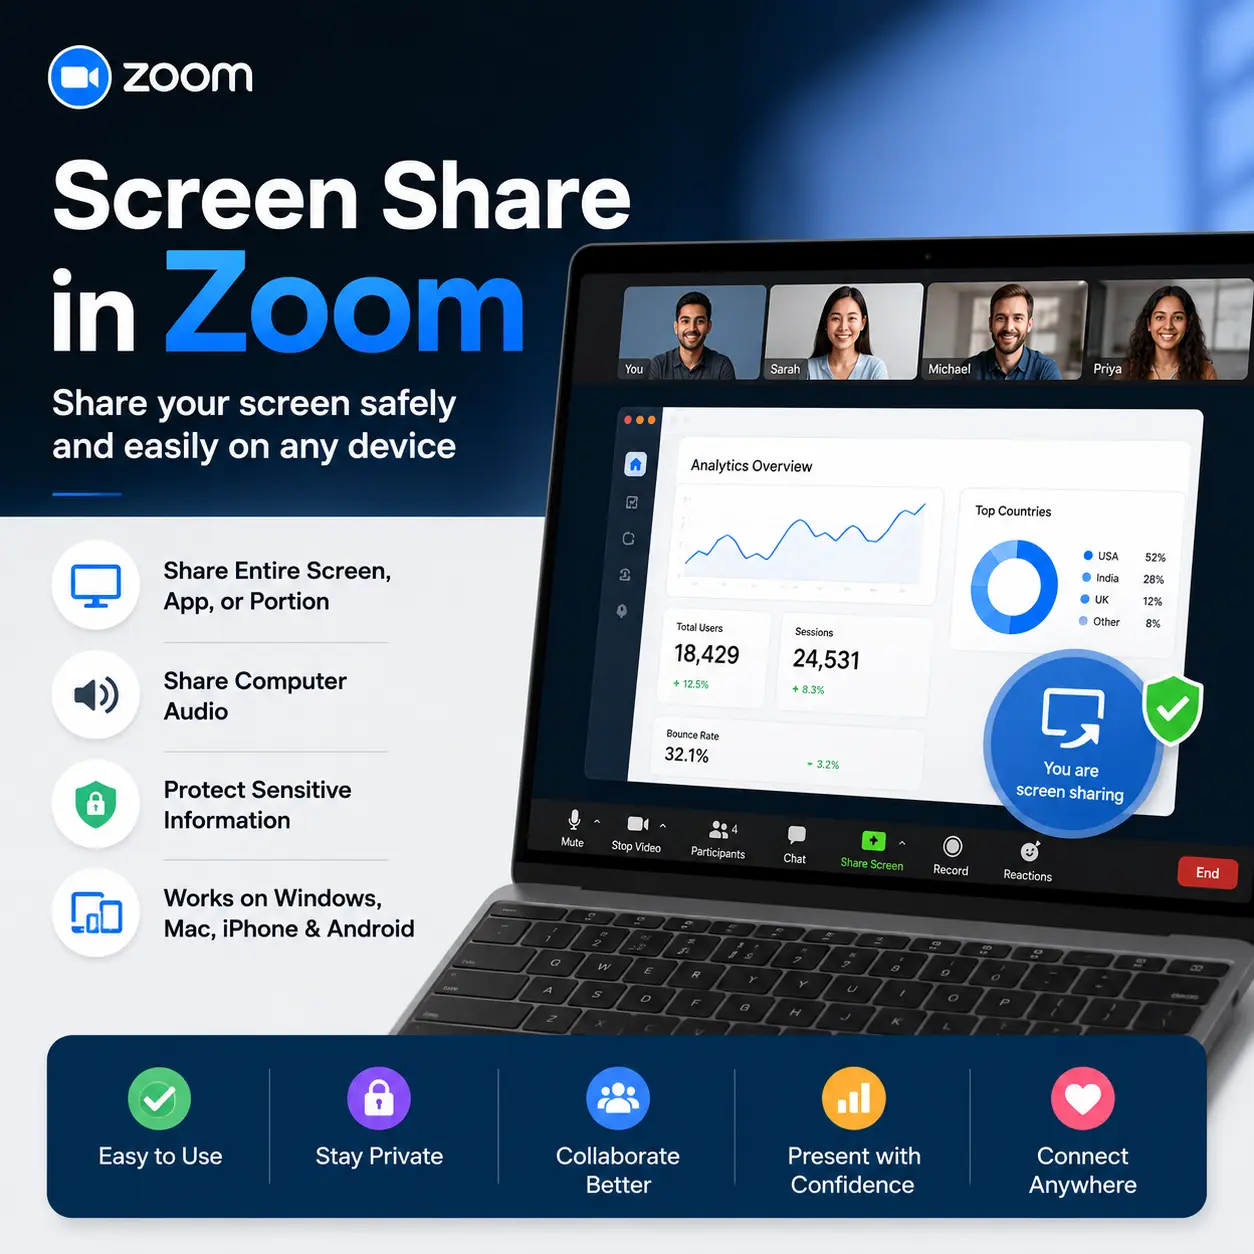
You've probably already used Zoom for meetings, presentations, or calls, but choosing the wrong sharing option can expose more of your desktop than you intended. In this guide, we'll explain how to screen share in Zoom on Windows, Mac, iPhone, and Android, including how to share an application, play computer audio, troubleshoot problems, and protect sensitive information.
Key Takeaways
- •Flexible Sharing Options: Zoom screen sharing lets participants share an entire desktop, a specific application, a portion of a screen, or supported device content.
- •Precise Control: The Share Screen button starts the sharing process, after which you choose exactly what meeting participants should see.
- •Application Isolation: Specific application sharing can reduce unrelated desktop content from appearing during presentations and demonstrations.
- •Integrated Audio: Computer audio sharing lets you send device audio alongside your shared content for videos, presentations, and demonstrations.
- •Pre-Share Privacy Checks: Privacy checks help prevent passwords, notifications, private messages, API keys, and customer information from appearing during a meeting.
- •Visual Indicators: Zoom sharing indicators (green border and floating controls) help you recognize when your screen is actively being broadcast.
- •Safer Workflow: A safer workflow combines the smallest necessary sharing area with a quick privacy check before every screen share.
What Is Screen Sharing in Zoom?
Zoom screen sharing is a feature that lets a meeting participant broadcast selected content from their computer or mobile device to other meeting participants. Zoom supports sharing an entire desktop or phone screen, specific applications, a portion of the screen, audio, video, and other supported content.
First, screen sharing is different from turning on your camera. Your camera shows your physical surroundings or face, while screen sharing broadcasts digital content that you deliberately select. For example, you can keep your webcam enabled while sharing a PowerPoint presentation or browser window.
Second, Zoom screen sharing involves choosing the content you want participants to see, such as your entire screen, a specific application, or a selected portion of the screen, and then clicking Share. This gives you control over which content becomes visible during the meeting.
For example, a developer demonstrating an application can share an IDE window instead of the entire desktop. A teacher can share a presentation, while a customer-support representative can share only the browser application needed for troubleshooting.
Zoom screen sharing is controlled by the person who chooses to share. Zoom states that hosts and participants cannot see your screen unless you choose to share it.
Why Does Screen Sharing in Zoom Matter?
Zoom screen sharing matters because it lets people present, teach, demonstrate, troubleshoot, and collaborate without physically sharing the same workspace. The feature is especially useful for remote teams, students, consultants, developers, sales teams, and customer-support professionals.
First, screen sharing makes visual explanations easier. For example, instead of explaining how a software dashboard works verbally, you can share the dashboard and demonstrate each step.
Second, virtual meetings remain a major part of modern workplace communication. Zoom reported that 68% of people surveyed considered virtual meetings crucial for team project progress — Source: Zoom, 2025.
Moreover, Zoom's 2025 meeting research reported that 62% of workers frequently attend meetings where the goal was not mentioned in the invitation — Source: Zoom, 2025. This makes focused screen sharing especially valuable because showing the relevant document, application, or workflow can make a meeting easier to follow.
At the same time, screen sharing creates a privacy risk when you share more than necessary. Sharing your entire desktop can expose everything visible on that desktop, including applications and files you open while presenting. For more practical advice, see our guide on screen sharing privacy tips.
How Do You Screen Share in Zoom?
You can screen share in Zoom by joining a meeting, clicking Share Screen, selecting the content you want to show, and clicking Share.
First, follow these steps on the Zoom desktop app:
- Join or start a Zoom meeting.
- Click Share Screen in the meeting controls toolbar (or press Alt + S on Windows / Cmd + Shift + S on macOS).
- Select the screen, application, or content you want to share.
- Choose optional settings such as Share Sound or video optimization.
- Click Share.
- Present your content.
- Click Stop Share when you finish.
Zoom provides several sharing choices, including an entire desktop, individual applications, portions of the screen, and other supported content.
Second, check the preview before clicking Share. If you see an email inbox, private conversation, password manager, customer record, or unrelated browser tab, choose a narrower sharing option. The safest Zoom screen-sharing workflow is to select only the content you need, check the shared area for sensitive information, and stop sharing immediately when the presentation is finished.
How Do You Share Your Screen on Zoom on Windows and Mac?
Windows and Mac users can screen share through the Zoom desktop app by selecting Share Screen and choosing the content they want participants to see.
How to Screen Share on Zoom on Windows
First, open the Zoom desktop application and join your meeting. Then click Share Screen in the meeting controls.
Next, select your desktop or the specific application you want to present. If you need to play a video or another source with audio, check Share Sound before clicking Share.
Finally, click Share and look for Zoom's screen-sharing indicator. Zoom displays a green border around the shared area on Windows and macOS, along with sharing controls and a red Stop Share button.
How to Screen Share on Zoom on Mac
First, join your Zoom meeting and select Share Screen. Choose the desktop or application you want to share.
On macOS, browser-based Zoom users may also need to grant screen-recording permission to the browser. Zoom's current documentation directs macOS users to System Settings → Privacy & Security → Screen & System Audio Recording (or Screen Recording) when using the Zoom Web App or client.
For example, if Chrome is selected for the Zoom Web App but screen sharing fails, check whether Chrome has the required system permission. Mac screen sharing requires the appropriate screen-recording permission when you use the browser-based Zoom experience.
How Do You Share Only One Application or Window in Zoom?
Sharing a specific application instead of your entire desktop can drastically reduce the amount of unrelated information visible during a Zoom presentation.
First, click Share Screen and select the individual application window you want to present. For example, you could select PowerPoint, Google Chrome, Figma, Visual Studio Code, Excel, or another supported application.
Second, application sharing is useful when privacy matters. If you share PowerPoint instead of your entire desktop, switching to a private messaging application does not intentionally make that application part of the selected share.
Third, Zoom administrators can even configure meetings so users cannot share their entire desktop and can instead share only selected applications and files.
| Sharing Option | Best For | Privacy Consideration |
|---|---|---|
| Entire screen | General demonstrations across multiple apps | Highest exposure (all notifications & windows visible) |
| Specific application | Presentations, coding demos, single-tool walkthroughs | Lower unrelated exposure (background apps hidden) |
| Portion of screen | Showing one specific crop area or dashboard panel | Useful for focused demonstrations with tight bounds |
| Video file | Recorded webinars and high-framerate clips | Better video playback workflow & clean display |
| Mobile screen | Mobile app demonstrations & walkthroughs | High exposure (everything on device screen is visible) |
For more protection, read our comprehensive guide on how to protect data during screen sharing.
How Do You Share Part of Your Screen in Zoom?
Zoom's portion-of-screen option lets you share a resizable rectangular area instead of the entire desktop. This option can be useful when you need to demonstrate one specific region of your workspace without showing surrounding toolbars or background docks.
First, click Share Screen, navigate to the Advanced tab at the top of the dialog, and select Portion of Screen. Click Share, then position and resize the green sharing bounding box over the content you want participants to see.
For example, a designer can share only the canvas area of a design application while keeping unrelated interface elements, color palettes, or file directories outside the shared region.
Second, review the boundaries before presenting. A small mistake in the selected area can still reveal information that you did not intend to show. Remember: the smallest useful sharing area is usually the safest sharing area.
How Do You Screen Share on Zoom From an iPhone or Android?
You can screen share from the Zoom mobile app by using the device's built-in screen-broadcast functionality.
How to Screen Share on iPhone & iPad
First, join your Zoom meeting in the iPhone or iPad Zoom app. Tap Share Content in the meeting controls, then tap Screen.
Next, follow the iOS screen-broadcast prompt and tap Start Broadcast. Zoom states that iOS screen sharing requires iOS 11 or higher, subject to its current app requirements.
How to Screen Share on Android
First, start or join your Zoom meeting and tap Share in the bottom controls. Select Screenfrom the menu and approve the Android system prompt ("Zoom will start capturing everything that's displayed on your screen").
Android displays a persistent system notification indicating that screen sharing is active. Zoom also displays floating meeting controls while the broadcast is running.
Mobile screen sharing exposes everything visible on the device screen, so app switchers, notification shades, and private apps deserve extra caution.
How Do You Share Computer Audio While Screen Sharing on Zoom?
Zoom can share computer or device audio alongside screen content, making screen sharing useful for videos, presentations, demonstrations, and multimedia training.
First, on the Zoom desktop app, click Share Screen and check the Share Sound option at the bottom-left corner before selecting your presentation content. You can click the arrow next to Share Sound to toggle between Mono and Stereo (high fidelity).
For example, if you are demonstrating a product video, participants can hear crisp digital audio directly from the video stream rather than low-quality sound picked up through your microphone.
Second, use Optimize for video sharing when presenting full-screen video clips. Zoom recommends enabling this option when sharing motion video because it adjusts frame rate and resolution for smoother streaming.
Zoom also provides a dedicated video-file sharing workflow under the Advanced tab, allowing you to stream supported MP4 and MOV files directly with hardware acceleration.
How Do You Stop Screen Sharing in Zoom?
You can stop screen sharing in Zoom at any moment by clicking the red Stop Share button in the floating meeting controls toolbar (located at the top or bottom of your screen).
First, look for the floating Zoom sharing controls while your screen is being broadcast. On Windows and macOS, Zoom displays a green sharing status pill and a bright red Stop Share control.
Second, stop sharing immediately after your presentation ends. For example, if you finish presenting a customer report and need to navigate to internal tools or check private emails, click Stop Share before switching applications. Stopping screen sharing promptly limits the window during which unintended content can be viewed.
Why Is Screen Sharing Not Working in Zoom?
Zoom screen sharing may fail because of disabled host permissions, browser permissions, outdated software, or operating system restrictions.
First, check whether the meeting host has allowed participants to share. Meeting hosts can restrict screen sharing under the Security icon in their toolbar, and organization administrators can disable participant screen sharing account-wide.
Second, review these common issues and rapid fixes:
Share Screen button is missing
Ask the meeting host to click the Security shield icon and check "Allow participants to: Share Screen".
Mac screen sharing fails or shows black
Go to System Settings → Privacy & Security → Screen Recording and toggle Zoom (or your browser) ON, then restart the app.
Audio does not play for viewers
Stop sharing, click Share Screen again, and ensure the "Share Sound" checkbox is ticked before sharing.
Mobile browser sharing unsupported
Mobile web browsers do not support screen broadcast APIs. Download and join via the official Zoom mobile app.
What Can Other People See When You Share Your Screen on Zoom?
Participants can only see the content you explicitly choose to share. Zoom states that participants cannot view your screen before you choose to share it.
First, understand the crucial differences between sharing modes:
- Full Desktop Sharing: Participants see your entire desktop wallpaper, dock/taskbar, system clock, browser tabs, pop-up notifications, and every window you bring into focus.
- Application Window Sharing: Zoom captures only the pixels inside that specific application. If you switch to another window or an email pops up over it, viewers typically see a gray freeze-frame or continue seeing only the selected app.
Zoom also notes that meeting hosts and participants cannot open or interact with your files or desktop simply because you are sharing. Remote control is a separate capability that requires your explicit, step-by-step confirmation.
How Can You Prevent Private Information From Appearing During a Zoom Screen Share?
You can prevent accidental exposure by sharing only the necessary content and checking your screen for sensitive information before presenting.
First, close or hide anything unrelated to the meeting. Common risk items include:
Second, disable unnecessary notifications before important presentations. On Windows, turn on Focus Assist; on macOS and iOS, enable Do Not Disturb.
Third, consider how to blur your screen when sensitive data must remain on screen during your workflow but should not be visible to viewers.
For example, a developer demonstrating a web dashboard might have live API keys or customer emails visible. While closing unrelated apps helps, using AI-powered screen blurring provides an automatic visual privacy layer directly in your browser.
With tools like AIBlurWeb, you can blur passwords and API keys on screen before they ever appear in Zoom, eliminating the fear of accidental data leakage.
What Tools Can Make Zoom Screen Sharing Safer?
Screen-sharing tools can add an essential privacy layer when manually closing and hiding sensitive data is inconvenient or error-prone.
First, Zoom's built-in sharing controls should remain your primary foundation. Choose single application windows rather than your full desktop whenever possible.
Second, a dedicated privacy tool like AIBlurWeb helps users blur sensitive information inside web browsers during live screen shares and video calls. It automatically detects:
- Email addresses and phone numbers
- API keys, bearer tokens, and credentials
- Credit card numbers and financial figures
- Custom text, HTML elements, and form fields with one click
Because all blurring is handled locally within the browser, no data ever leaves your computer, making it ideal for developers, customer support teams, educators, and enterprise sales professionals.
For teams that regularly record presentations, also review our guide on screen recording privacy, as unblurred data captured during live Zoom meetings will persist permanently in meeting recordings.
What's the Safest Zoom Screen-Sharing Workflow?
The safest Zoom screen-sharing workflow is to minimize the shared area, verify sensitive information is hidden, confirm audio settings, and stop sharing immediately when finished.
The 7-Step Zoom Privacy Checklist
- Close unnecessary applications: Shut down email clients, chat tools, and financial software.
- Mask sensitive data: Use AIBlurWeb to blur credentials, tokens, and customer PII on visible web apps.
- Disable notifications: Enable Do Not Disturb or Focus Assist on your device.
- Select a single application: Choose specific windows instead of full-desktop broadcast.
- Verify audio needs: Toggle "Share Sound" only if your media requires computer audio.
- Monitor the shared frame: Keep an eye on Zoom's green border indicator during the call.
- Click Stop Share immediately: Terminate the broadcast before navigating away.
Making this 10-second privacy check habitual will prevent embarrassing disclosures and protect your organization's confidential data during every client presentation or product demonstration.
Conclusion
Screen sharing in Zoom is simple when you choose the correct sharing mode and verify what participants can see before you begin. You can share your entire screen, a specific application, a portion of your screen, mobile content, or computer audio depending on your presentation needs.
Remember that sharing an individual application is almost always safer than sharing your entire desktop. Enable Do Not Disturb to block pop-ups, check audio settings when presenting videos, and protect sensitive browser content with AIBlurWeb.
The goal is not simply to share your screen. The goal is to share exactly what you intend—and nothing more.

Written & Reviewed by Deepak (Founder)
Founder & Solo Developer at AIBlurWeb
Deepak focuses on screen privacy, browser security, data protection, screen sharing, and AI-powered privacy tools based on hands-on product development experience. Read more about the founder →
Disclaimer: This article was initially drafted using AI assistance. However, the content has undergone thorough revisions, editing, and fact-checking by human editors and subject matter experts to ensure accuracy.